White Bread
White bread is the standard of bread
for most of North America. It's a simple loaf, made in a rectangular
pan. In Newfoundland, the classic white bread loaf is a row of
three buns, gently pressed together. It makes for two joins in the
loaf where the bread is really tender. People fight over those
“kissing slices” when the bread is being sliced.

If you want to learn the art of bread making, white bread is the place to start (along with toutons, see the earlier post!). It's a relatively fast bread to prepare need only about 2 1/2 to 3 hours. Also, the dough is very easy to work with. It is very elastic and easily shaped, but not saggy, like wetter doughs.
If this is your first time making
bread, pay extra attention to the dough's texture as you prepare to
divide and shape it. It's very important to try and gain a sense for
how it should feel. I'll get into that in the details. For this
bread I'm making a 2-loaf batch.

Step 1) Measuring
Formula
100% Flour
60% Water
4% Sugar
2% Salt
1% Yeast
5% Oil
172% Total
Weights (For 2 Loaves)
1000g Flour
600mL Water
40g Sugar
20g Salt
10g Yeast
25mL Oil
Measures (For 2 Loaves)
7 cups Flour
2 1/2 cups Water
1/4 cup Sugar
5 tsp Salt
3 tsp Yeast
1/4 cup Oil
Step 2) Mixing
The mixing process for white dough is identical to toutons. It's the same dough. It's just a matter of stirring the ingredients, minus the oil, together until the flour is wet, then add the oil. Continue to stir to a gooey mass. Basic white dough comes together very easily. The flour is very rich with gluten, and it forms very quickly.


If you're new to baking, pay close attention to what's happening now. As you stir you'll first see the flour getting wet, then clumping together. But it doesn't form little balls or amorphous gobs. Rather, it forms long stringy chains. This is a grouping together of similar chains of gluten. tiny strands join, interconnect, and lengthen. They're elastic and pliable. Try to feel the substance of the dough as you mix it. At the very least watch closely. This is the first step to getting a feel for what dough is really doing.
Step 3) Kneading
Now that the dough is beginning to take form, it's time to move on to kneading.
*As a side note, for those of you with a bowl mixer, the mixing and kneading steps are combined. The mixer will take care of both jobs in a fluid action. However, for your first few attempts at baking, I encourage you make it by hand, in order to build a base line for how dough feels.*


Step 4) First Rise

 All the experts in the baking field say that the first rise is where the most of the bread's flavour comes from. The fermentation creates alcohol, and breaks down the dough's starch into simpler sugars. This, combined with the addition of salt, sugar, and oil, makes for a delicious finished product.

Step 5) Dividing
I started with enough dough to make two loaves of three buns each (1720g of dough total, if you're weighing). To divide this dough, I cut out six buns, weighing 275g each. (Remember I'm using 3' x 9' bread pans).


As you cut the dough, be gentle. If you're rough you'll cut ragged edges through the dough, diminishing the strength of the gluten. Watch closely as you cut it. The dough holds so much resilience as the knife tugs at it. You'll see that the surface usually has a little more resilience than the center. This concept of a strong outer surface plays and important role in the next step.
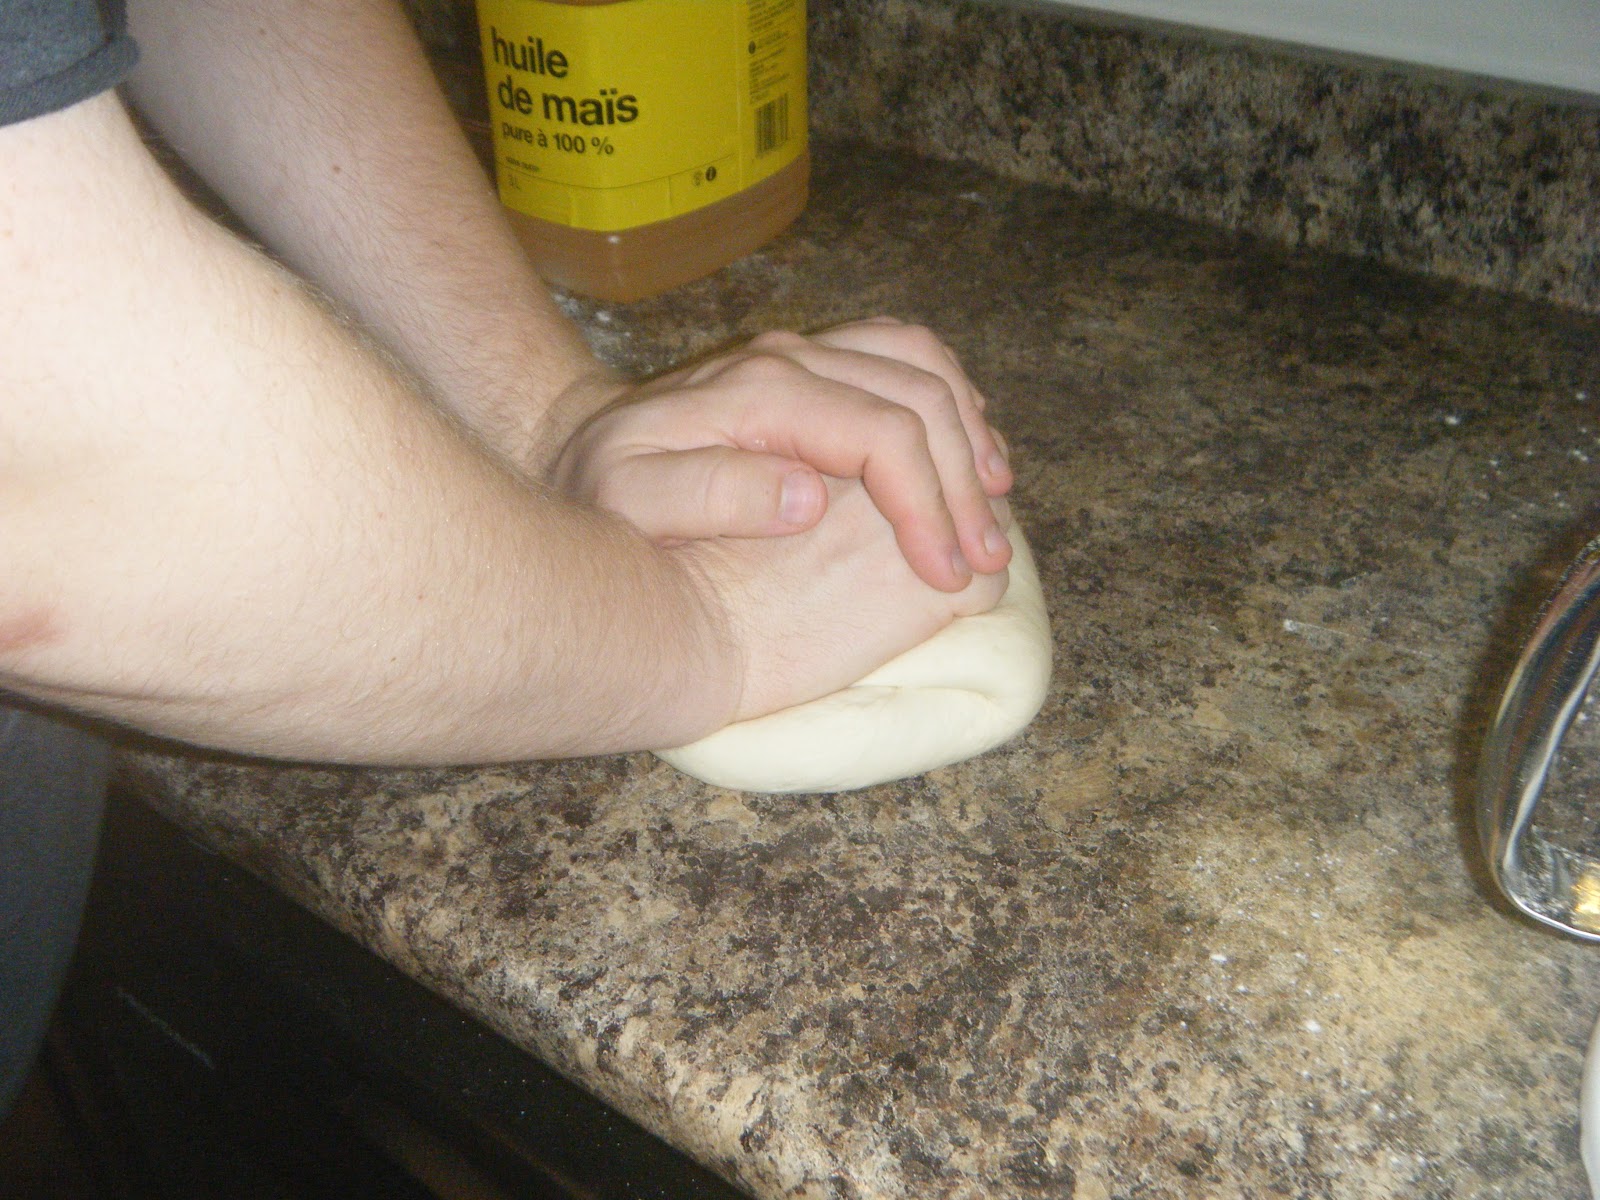
Step 6) Shaping and Panning


The other method is to shape the dough in your hands. This is done like this; first, pick up the dough in a manner that allows most of the dough to drape over your knuckles. Now gently swing the dough downwards towards the counter and give it a light punch. This will both degas it, and flatten it. Next, while still holding the dough, fold it in roughly in thirds, and tuck the end into the center. Repeat for the other side. It should now resemble something of a tube. To finish the shaping, bring the two long ends together, and pinch the seam together. Then take a close look at the shape of your bun now. If it still looks a bit uneven, fold together the awkward bits and pinch the seam together again.

The ultimate goal of the shaping process is to pull the outer surface of the dough very tightly. Once it's been shaped, gently feel the surface, and you'll notice that it feels smooth and tight. There is a definite tension to the surface. This tension is very important. Without it the bread won't be able to rise as well. You'll end up with an uneven bread with poor texture.

 Next comes the panning. For white bread this is very simple. Place three buns in each pan, side by side. Place them in one at a time, and make sure to gently squeeze them together as you go. Once the three buns are in the pan, press down on the three of them with either the knuckles or palms of your hand. This adheres the buns together, so the loaf won't break into three buns after it's baked.

Step 7) Second Rise


On the first rise the surface of the dough had big bubbles on its surface. You shouldn't see any large bubbles at all now, due to the tight dough surface. Allow it to keep growing until it rises about an inch or so above the pans. Bread will get a little larger in the oven, but only about 10% (this is called "oven spring"). So you have to let it rise to nearly the full size you want the finished product to be.

Step 8) Baking
Bake at 350 degrees F for about 30 minutes. This length of time can change a little, depending on your oven, so be careful.
If you don't have a fan in your oven (convection ovens, for example), you may need to rotate your pans a couple of times to get an evenly browned crust. To do this, move the pans on the left side to the right side, and vice-versa, move the pans in the back to the front of the oven and vice-versa, and if you have multiple layers, move the pans on the bottom rack to the top rack and vice-versa. Ovens often have hot spots. A couple of batches of bread or pastries will make the location of these apparent. Keep in mind where the hot spots are for your subsequent baking projects.

Inside the oven, after a few minutes, you'll start to see some patches of colour developing on the bread's surface. It will look uneven at first, but it quickly evens out. With this type of bread it's difficult to notice the increase in its size from oven spring, but it does happen.
So how is the dough transforming into bread?? The surface is exposed to the hot, dry air of the oven, which quickly evaporates most of the water in the dough's surface. While the dough is moist, it can only reach a temperature of about 100 degrees C. But once it's dry and crisp, it can get much hotter. Sugar starts to caramelize at about 160 degrees C, which is where the golden brown colour of bread crust comes from. A combination of the added sugar and the carbohydrates from the flour that broke down during fermentation caramelize on the surface. Meanwhile, inside the bread, the temperature doesn't get hot enough for sugar to caramelize. The steam that's now forming inside is trapped by the crust. While the outside is hardening into crust the inside is being gently steamed by its own water. Thus, when the dough is finished baking, you have a product that crisp and sweet on the outside, and moist and soft inside.

When the crust is a golden brown, it's best to check to see if it's done. You might have to do this before the 30 minutes are up, depending on your oven. The easiest way to check for doneness is like this;
Take a bread pan from the oven and carefully remove the bread from it. Hold up the loaf with a cloth (to protect your hand from getting burned), and gently tap it on the bottom with your fingers. Listen closely to the sound that comes from the loaf. It should sound very hollow with good resonance through the loaf. If it sounds like a hollow chamber inside, the loaf is done. The dough sounds like this only when the inside is fully cooked. It's mostly solid at this point, inside and out.
When the bread is baked, take the pans out of the oven and immediately take the bread out of them. The bread will go soggy very quickly if you leave them in the pans. So dump them out gently onto the counter, and quickly move them to a wire cooling rack.
Step 9) Cooling
I always suggest waiting at least 20 minutes (but preferably an hour) before cutting a slice off the loaf. The inside of the loaf will still be somewhat soft and gooey when it first comes from the oven. Cutting it right away will cause the loaf to collapse on itself.

I hope that through the process of making white bread you've come to better understand exactly what bread baking is all about. Being able to understand the nature of the dough is very important for learning how to control it. If you can learn to understand the dough through feel and observation, it opens you up to learning how to manipulate the variables around you into making the perfect loaf.

No comments:
Post a Comment